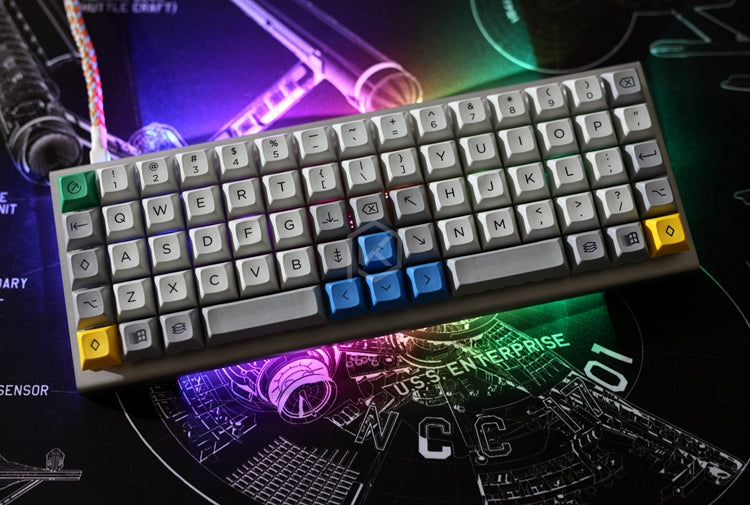
-xd75 keyboard firmware
-======================
+# XD75
-## Quantum MK Firmware
+
-For the full Quantum feature list, see [the parent readme](/).
+The XD75Re is a 15x5 full-grid ortholinear keyboard manufactured by XIUDI. This port of the QMK firmware is my first shot at using QMK, so if you see any features done wrong (or just plain missing), feel free to fix them and put in a pull request!
-## Building
+Keyboard Maintainer: [The QMK Community](https://github.com/qmk)
+Hardware Supported: XD75Re
+Hardware Availability: [KPrepublic](https://kprepublic.com/products/xd75re-xd75am-xd75-xiudi-60-custom-keyboard-pcb), [AliExpress](https://www.aliexpress.com/item/xd75re-Custom-Mechanical-Keyboard-75-keys-TKG-TOOLS-Underglow-RGB-PCB-GH60-60-programmed-gh60-kle/32818745981.html)
-Download or clone the whole firmware and navigate to the keyboards/xd75 folder. Once your dev env is setup, you'll be able to type `make` to generate your .hex - you can then use the Teensy Loader to program your .hex file.
+Make example for this keyboard (after setting up your build environment):
-Depending on which keymap you would like to use, you will have to compile slightly differently.
+ make xd75:default
-### Default
+Flashing example:
-To build with the default keymap, simply run `make default`.
+ make xd75:default:dfu
-### Other Keymaps
+See the [build environment setup](https://docs.qmk.fm/#/getting_started_build_tools) and the [make instructions](https://docs.qmk.fm/#/getting_started_make_guide) for more information. Brand new to QMK? Start with our [Complete Newbs Guide](https://docs.qmk.fm/#/newbs).
-Several version of keymap are available in advance but you are recommended to define your favorite layout yourself. To define your own keymap create a folder with the name of your keymap in the keymaps folder, and see keymap documentation (you can find in top readme.md) and existant keymap files.
-To build the firmware binary hex file with a keymap just do `make` with a keymap like this:
+## LED control
+There are 3 individual LEDs that can be turned on and off, plus the keycap LEDs (which are all wired into the same pin). The functions are named according to how they're labeled on the PCB.
+
+TODO: it would be nice to have PWM support on these LEDs for fade-in/fade-out effects.
+
+```c
+capslock_led_on();
+gp100_led_on();
+gp103_led_on();
+keycaps_led_on();
+
+
+// led_set_user example - you could also turn these on/off in response
+// to events in process_record_user or matrix_scan_user
+void led_set_user(uint8_t usb_led) {
+ if (usb_led & (1<<USB_LED_CAPS_LOCK)) {
+ capslock_led_on();
+ } else {
+ capslock_led_off();
+ }
+
+ if (some_custom_state) {
+ gp100_led_on();
+ }
+ else {
+ gp100_led_off();
+ }
+}
```
-$ make [default|jack|<name>]
-```
-Keymaps follow the format **__\<name\>.c__** and are stored in the `keymaps` folder.
+For the curious:
+
+```
+CAPSLOCK_LED B2
+GP103_LED F4
+KEYCAPS_LED F5
+GP100_LED F7
+```