## Getting started
-* **If you're looking to customize a keyboard that currently runs QMK or TMK** , find your keyboard's directory under `/keyboard/` and read the README file. This will get you all set up.
-* Read the [QUICK_START.md](QUICK_START.md) if you want to hit the ground running with minimal fuss or you aren't a technical person and you just want to build the firmware with the least amount of hassle possible.
+* [BUILD_GUIDE.md](BUILD_GUIDE.md) contains instructions to set up a build environment, build the firmware, and deploy it to a keyboard. Once your build environment has been set up, all `make` commands to actually build the firmware must be run from a folder in `keyboard/`.
+* If you're looking to customize a keyboard that currently runs QMK or TMK, find your keyboard's directory under `keyboard/` and run the make commands from there.
* If you're looking to apply this firmware to an entirely new hardware project (a new kind of keyboard), you can create your own Quantum-based project by using `./new_project.sh <project_name>`, which will create `/keyboard/<project_name>` with all the necessary components for a Quantum project.
You have access to a bunch of goodies! Check out the Makefile to enable/disable some of the features. Uncomment the `#` to enable them. Setting them to `no` does nothing and will only confuse future you.
`DF(layer)` - sets default layer to *layer*. The default layer is the one at the "bottom" of the layer stack - the ultimate fallback layer. This currently does not persist over power loss. When you plug the keyboard back in, layer 0 will always be the default. It is theoretically possible to work around that, but that's not what `DF` does.
+### Prevent stuck modifiers
+
+Consider the following scenario:
+
+1. Layer 0 has a key defined as Shift.
+2. The same key is defined on layer 1 as the letter A.
+3. User presses Shift.
+4. User switches to layer 1 for whatever reason.
+5. User releases Shift, or rather the letter A.
+6. User switches back to layer 0.
+
+Shift was actually never released and is still considered pressed.
+
+If such situation bothers you add this to your `config.h`:
+
+ #define PREVENT_STUCK_MODIFIERS
+
+This option uses 5 bytes of memory per every 8 keys on the keyboard
+rounded up (5 bits per key). For example on Planck (48 keys) it uses
+(48/8)\*5 = 30 bytes.
+
### Remember: These are just aliases
These functions work the same way that their `ACTION_*` functions do - they're just quick aliases. To dig into all of the tmk ACTION_* functions, please see the [TMK documentation](https://github.com/jackhumbert/qmk_firmware/blob/master/tmk_core/doc/keymap.md#2-action).
So above you can see the stroke interval changed to 255ms between each keystroke, then a bunch of keys being typed, waits a while, then the macro ends.
-Note: Using macros to have your keyboard send passwords for you is a bad idea.
+Note: Using macros to have your keyboard send passwords for you is possible, but a bad idea.
+
+### Advanced macro functions
+
+To get more control over the keys/actions your keyboard takes, the following functions are available to you in the `action_get_macro` function block:
+
+* `record->event.pressed`
+
+This is a boolean value that can be tested to see if the switch is being pressed or released. An example of this is
+
+```c
+if (record->event.pressed) {
+ // on keydown
+} else {
+ // on keyup
+}
+```
+
+* `register_code(<kc>);`
+
+This sends the `<kc>` keydown event to the computer. Some examples would be `KC_ESC`, `KC_C`, `KC_4`, and even modifiers such as `KC_LSFT` and `KC_LGUI`.
+
+* `unregister_code(<kc>);`
+
+Parallel to `register_code` function, this sends the `<kc>` keyup event to the computer. If you don't use this, the key will be held down until it's sent.
-### Additional keycode aliases for software-implemented layouts (Colemak, Dvorak, etc)
+* `layer_on(<n>);`
+
+This will turn on the layer `<n>` - the higher layer number will always take priority. Make sure you have `KC_TRNS` for the key you're pressing on the layer you're switching to, or you'll get stick there unless you have another plan.
+
+* `layer_off(<n>);`
+
+This will turn off the layer `<n>`.
+
+* `clear_keyboard();`
+
+This will clear all mods and keys currently pressed.
+
+* `clear_mods();`
+
+This will clear all mods currently pressed.
+
+* `clear_keyboard_but_mods();`
+
+This will clear all keys besides the mods currently pressed.
+
+#### Timer functionality
+
+It's possible to start timers and read values for time-specific events - here's an example:
+
+```c
+static uint16_t key_timer;
+key_timer = timer_read();
+if (timer_elapsed(key_timer) < 100) {
+ // do something if less than 100ms have passed
+} else {
+ // do something if 100ms or more have passed
+}
+```
+
+It's best to declare the `static uint16_t key_timer;` outside of the macro block (top of file, etc).
+
+## Additional keycode aliases for software-implemented layouts (Colemak, Dvorak, etc)
Everything is assuming you're in Qwerty (in software) by default, but there is built-in support for using a Colemak or Dvorak layout by including this at the top of your keymap:
- #include "keymap_<layout>.h"
+ #include <keymap_extras/keymap_colemak.h>
-Where <layout> is "colemak" or "dvorak". After including this line, you will get access to:
+If you use Dvorak, use `keymap_dvorak.h` instead of `keymap_colemak.h` for this line. After including this line, you will get access to:
* `CM_*` for all of the Colemak-equivalent characters
* `DV_*` for all of the Dvorak-equivalent characters
RGBLIGHT_ENABLE = yes
-Please note that the underglow is not compatible with MIDI functions. So you cannot enable both of them at the same time.
+Please note that the underglow is not compatible with audio output. So you cannot enable both of them at the same time.
Please add the following options into your config.h, and set them up according your hardware configuration.
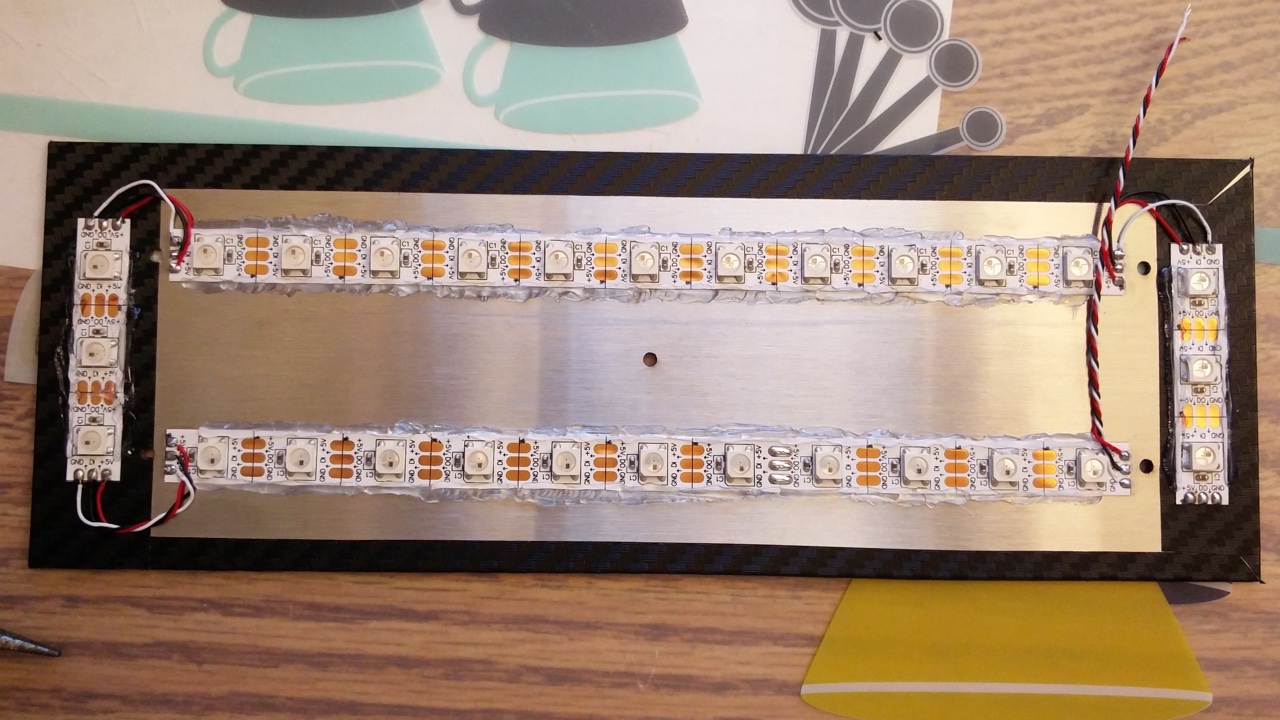
Please note the USB port can only supply a limited amount of power to the keyboard (500mA by standard, however, modern computer and most usb hubs can provide 700+mA.). According to the data of NeoPixel from Adafruit, 30 WS2812 LEDs require a 5V 1A power supply, LEDs used in this mod should not more than 20.
+
+## Safety Considerations
+
+You probably don't want to "brick" your keyboard, making it impossible
+to rewrite firmware onto it. Here are some of the parameters to show
+what things are (and likely aren't) too risky.
+
+- If a keyboard map does not include RESET, then, to get into DFU
+ mode, you will need to press the reset button on the PCB, which
+ requires unscrewing some bits.
+- Messing with tmk_core / common files might make the keyboard
+ inoperable
+- Too large a .hex file is trouble; `make dfu` will erase the block,
+ test the size (oops, wrong order!), which errors out, failing to
+ flash the keyboard
+- DFU tools do /not/ allow you to write into the bootloader (unless
+ you throw in extra fruitsalad of options), so there is little risk
+ there.
+- EEPROM has around a 100000 write cycle. You shouldn't rewrite the
+ firmware repeatedly and continually; that'll burn the EEPROM
+ eventually.
+